
For people raising broiler breeders, every hatching egg is like a coin when you do the accounting down to the last detail. But many farm managers focus their efforts on egg production and fertility rates, while quietly losing profits in the steps after the hatching eggs are laid. From laying to setting in the incubator, a hatching egg may spend as little as one or two days or as long as a week. During this time, whether disinfection is done properly and storage conditions are maintained directly determines whether it becomes a healthy, vigorous chick or a source of contamination in the incubator.
Today, let’s skip the big-picture talk and focus on the practical details of hatching egg disinfection and storage where “just one small misstep could cause trouble.”
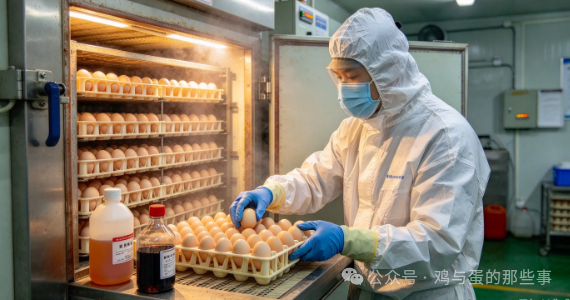
The first principle of disinfection: act before bacteria have a chance to gain a foothold
When hatching eggs are laid, their shells carry cloacal secretions and miscellaneous bacteria from the air in the poultry house. Bacteria penetrate eggshells faster than most people imagine. By the time the eggs are left to “cool down a bit” in the egg trays, bacteria have already begun to work their way inside. So the first principle of disinfection is not “what chemical to use,” but when to act.
Hatching eggs should receive their first disinfection immediately after they are laid. Collect eggs frequently in the poultry house and disinfect them as soon as collection is complete, leaving bacteria no window of opportunity. Formaldehyde fumigation is a classic method: use 42mL of formalin and 21g of potassium permanganate per cubic meter of space, fumigate for 20 minutes, and it can kill 95%–98.5% of pathogens. The order of operation must not be reversed—add the potassium permanganate first and pour in the formaldehyde afterward. The container must have a capacity at least ten times the volume of the solution; otherwise, if the reaction is vigorous, the solution may overflow, turning disinfection into an accident.
If you have concerns about using formaldehyde, peracetic acid fumigation is an alternative: use 50mL of 16% peracetic acid solution and 5g of potassium permanganate per cubic meter, fumigate for 15 minutes. It kills bacteria quickly, but is highly corrosive and not very friendly to metal equipment, so weigh the trade-offs when using it. Chlorine dioxide spray (80mg/L) is also a viable option, but the eggs must be left to dry before being moved into the egg storage room; storing wet eggs is like sending mold an invitation.
Here is one step that is easy to overlook: transfer the eggs to the egg storage room immediately after disinfection. Leaving them exposed in the poultry house or corridor after disinfection is as good as not disinfecting them at all.
The key to storage is not “putting eggs in the egg room”; it is keeping three things under control.
Many farm managers think the job is done once they put the hatching eggs in the egg room. But the temperature, humidity, and arrangement in the egg room each quietly affect the hatch rate.
As for temperature, the biggest danger is being “neither too high nor too low.” The threshold temperature for chicken embryo development is 23.9℃. Above this temperature, embryos begin to develop, but without the stable conditions of an incubator, development starts and stops repeatedly, depleting embryo vitality and naturally increasing embryo mortality. Below 5℃, the eggs are directly exposed to freezing, and their hatching capacity drops to zero. The commonly used safe range in production is 15~18℃; for short-term storage, the temperature can also be kept at 10~15℃. The key is not memorizing a particular number, but maintaining stability—egg-room temperatures that fluctuate do more damage than temperatures that remain consistently somewhat high.
As for humidity, keep it within 70%~80%. Hatching eggshells have several thousand pores, and moisture continually escapes during storage. If humidity falls below 70%, moisture evaporates from the eggs too quickly, and by the time they are set, the eggs have already “shrunk.” If humidity stays above 80% for a long time, mold takes hold on the eggshells. Mold spots on the egg-room walls and egg trays are a warning sign.
For the placement and turning approach, it depends on how many days you plan to store the eggs. Placing them with the blunt end up is standard practice; it keeps the yolk centered and reduces contact with the shell membranes. If storing for no more than 7 days, simply place them blunt end up; turning is not required. If storage is expected to exceed 7 days, turn the eggs 1–2 times daily, or place them blunt end down so the yolk changes position, preventing the blastodisc from adhering to the inner shell membrane. Once adhesion occurs, early embryonic death is all but certain.
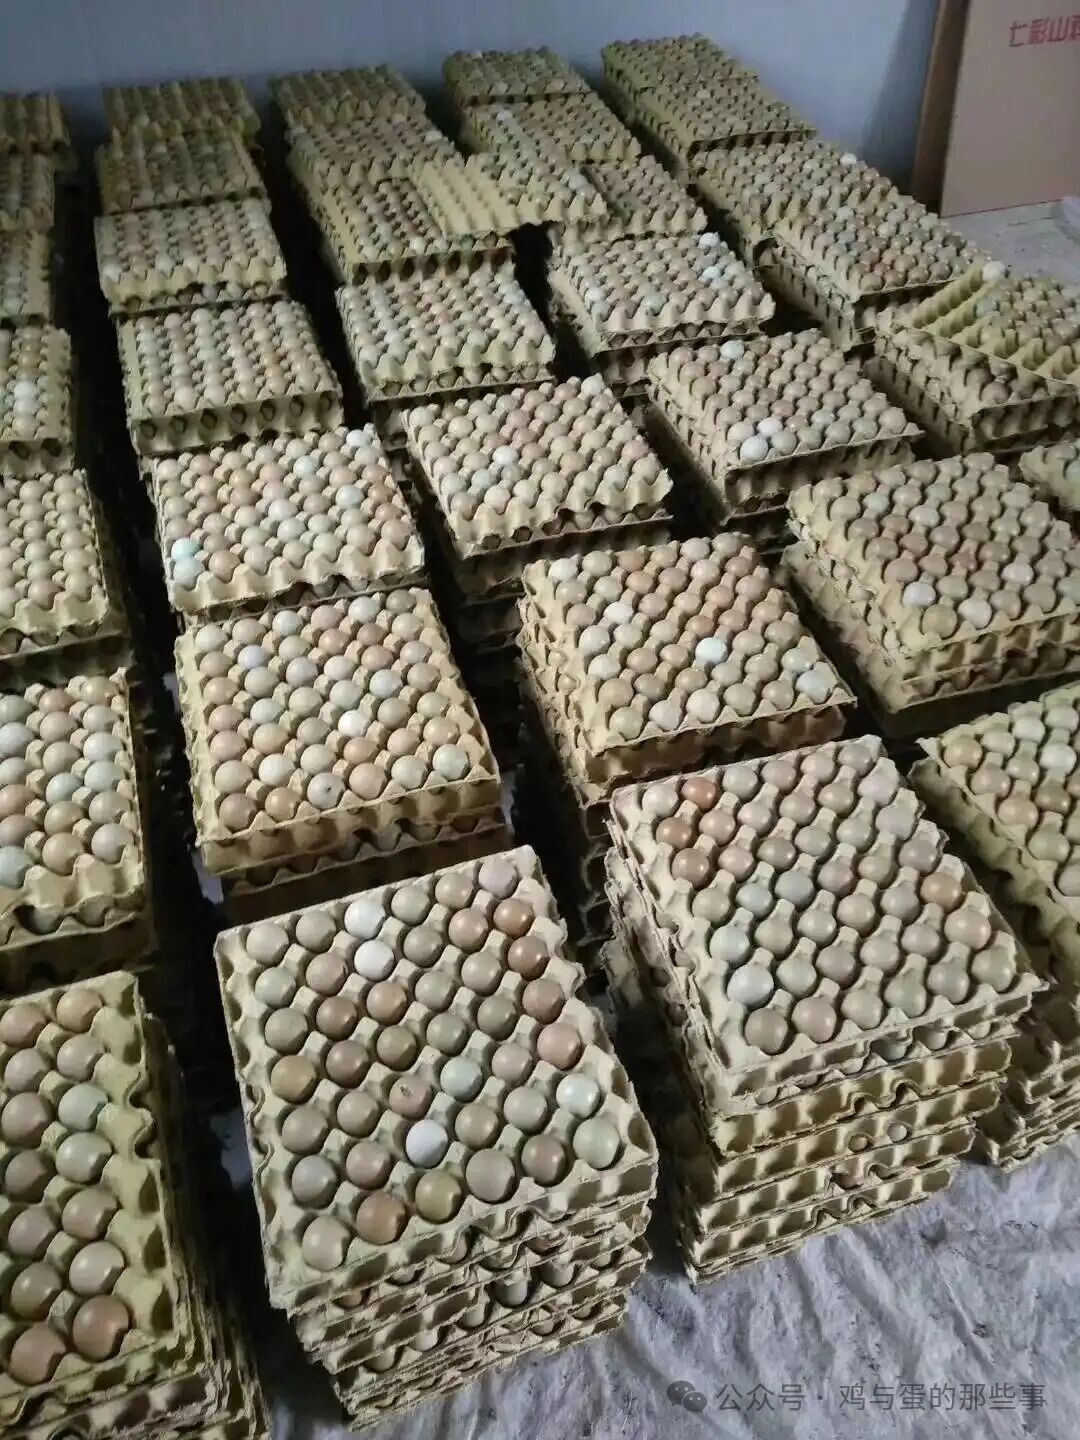
An underestimated variable: how many days you plan to store them
Hatching eggs are not more cost-effective when stored longer just to “build up a batch before setting.” Here are the figures: in the 5–7-day range, each additional day of storage reduces the hatch rate by about 0.2 percentage points; beyond 7 days, the decline increases to about 0.5 percentage points per additional day. 7 days is a dividing line: beyond 7 days, the rate of decline in hatchability becomes markedly steeper. Eggs stored for more than two weeks have very little hatching value left.
For a broiler breeder farm, this means two things. First, during peak egg production, the egg collection schedule must align with the incubation plan; don’t let the egg room become an “egg storage warehouse.” Second, if storage does need to be extended, cooling (which can be lowered to around 12°C) and egg turning must be kept in sync. Cooling alone cannot reverse the natural deterioration that comes with storage time.
Three practices that “seem convenient but can actually be disastrous”
First: washing dirty eggs. The cuticle on the surface of a hatching egg is a natural barrier. Rinsing it with water breaks that barrier, making it easier for bacteria to enter through the pores. The correct way to handle dirty eggs is to wipe them dry or gently scrape off the contaminated spots with sandpaper, then fumigate—not to “wash them clean before storage.”
Second: failing to ventilate or refresh the air after disinfection. Residual gas after formaldehyde fumigation can irritate the respiratory tract of staff and is also harmful to the hatching eggs. Thoroughly ventilate the area to remove residual gas after fumigation, then move the eggs into the egg room. This is the baseline for protecting both people and eggs.
Third: using the egg storage room as a storeroom. Uniform temperature in the egg storage room depends on keeping it sealed and insulated. Frequent door opening, storing miscellaneous items, and dirty egg trays can undo all the temperature and humidity control achieved earlier. Open the egg storage room door as few times as possible.
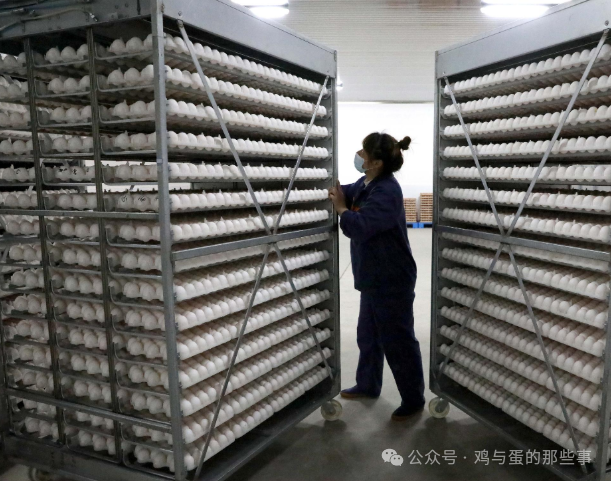
There are no “silver bullets” in hatching egg management; it all comes down to careful work. Disinfection is all about seizing the right time window, while storage is about maintaining a stable environment. Together, these two things form the complete safety chain for a hatching egg from the chicken house to the incubator. Every egg in your egg storage room is a “semi-finished product” that has already incurred feed costs, labor costs, and poultry house depreciation costs. Don’t let them become an unspoken loss in the final stretch because disinfection was skipped once to save time or because of one night when the temperature was off by two degrees.
Before the next batch of eggs goes into the incubator, take a look at the temperature records in the egg storage room and review the recent egg-turning logs. That will be more useful than anything else.